Winch Recovery Basics and the Stop Conditions
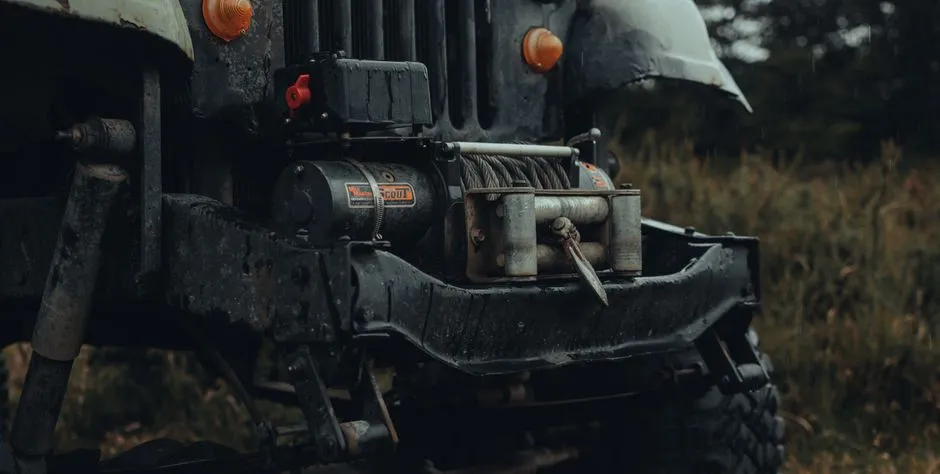
A winch is a system, not a front-bumper decoration
A vehicle winch works only as part of a documented system: vehicle mounting structure, electrical supply, rope or cable, terminations, fairlead, controller, connectors, recovery points, anchor, rigging, operators, and a controlled load path. Read every current manufacturer instruction before use. Ratings and procedures cannot be safely reconstructed from a campsite memory.
If the installation, inspection history, point, anchor, load, angle, or component compatibility cannot be verified, do not load the winch.
Stabilize and assess before touching gear
Secure the stuck and recovery vehicles exactly as their manuals direct. Account for traffic, slopes, moving water, overhead hazards, leaking fluids, smoke, electrical damage, unstable soil, and possible vehicle travel. Keep occupants and bystanders out of every wheel, line, connector, anchor, rollback, slide, and rollover path.
Identify why the vehicle cannot move. A tire lacking traction presents a different load from a chassis buried to the frame or a damaged wheel locked against an obstacle. Winching harder is not diagnosis.
Verify the mounting and approved point
Inspect the winch, mounting structure, fasteners, line, fairlead, controller, electrical cables, battery condition, connectors, and vehicle attachment points using their instructions. Check for corrosion, cracks, deformation, abrasion, heat, broken strands or fibers, contamination, loose hardware, and overload evidence.
Use only documented recovery points and anchors suited to the planned direction. Never attach to a tow ball, unidentified loop, living tree where prohibited, utility pole, guardrail, or object whose strength, ownership, environmental rules, and load direction are uncertain.
Rig only from exact instructions and training
Line layers, pull angle, redirects, mechanical advantage, anchor protection, rope or cable handling, dampers, vehicle controls, and duty cycle are equipment-specific. This guide cannot replace that documentation or hands-on training. Do not improvise a pulley arrangement, combine incompatible components, or side-load hardware outside its stated use.
Wear the protective equipment required by the makers. Never straddle, step over, handle, or stand near a loaded line. Keep hands away from the fairlead and drum, even during low-load line handling.
Establish command and danger zones
One competent director controls the operation. Agree on driver actions, signals, stop command, planned travel, and communication-loss response. Anyone may call stop; only the director authorizes restart after inspecting the system.
Place every nonessential person far outside all plausible line and hardware trajectories, not merely behind a vehicle. A broken component can change direction. Stored energy is annoyingly creative.
Pull slowly and stop often
Operate within the winch, vehicle, electrical, and rigging limits. Keep the line aligned as required, monitor vehicle movement and anchor behavior, and stop frequently to secure everything and inspect. Do not exceed the documented duty cycle or continue through motor, cable, controller, battery, or connection overheating.
Stop for line bunching, shifting anchors, bending points, slipping vehicles, loss of steering or braking control, fraying, unusual noise, smoke, warning lights, failed communication, or movement outside the planned corridor.
Know when the correct tool is a phone
Use a complete recovery plan and verify recovery points before rigging. Turn around before entering terrain with no safe recovery path.
Call qualified professional recovery for rollover, major damage, traffic exposure, moving water, unstable slopes, uncertain anchors, missing documentation, or loads beyond the crew's training. A successful winch recovery is slow, controlled, and almost disappointingly undramatic. That is the point.