How to Inspect a 4x4 After a Trail Day
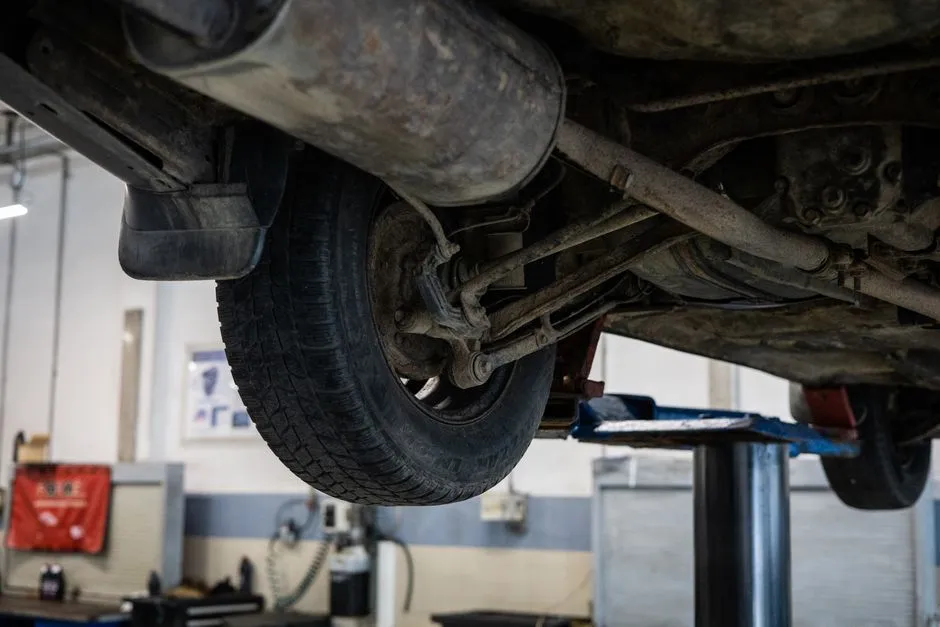
Inspect before the road drive home
Park on stable level ground away from traffic, dry vegetation, flood zones, and hot exhaust hazards. Secure the vehicle as its manual directs. Walk around without crawling underneath and look for leaning, smoke, fluid leaks, damaged tires, loose bodywork, hanging lines, packed mud, branches, or anything touching a hot or moving component.
If you see fuel, brake-fluid, coolant, high-voltage, steering, structural, wheel, or serious tire damage, do not continue. Keep people clear and arrange qualified assistance.
Start with tires and wheels
Check tread, sidewalls, bead areas, valves, wheels, and fasteners for cuts, bulges, exposed material, trapped stones, deformation, looseness, missing parts, or sudden pressure loss. Inspect the spare and inflation equipment. Remove debris only when the vehicle is secure and the method cannot damage the tire.
Restore the vehicle label or manual's specified road pressure before sustained pavement, following the maker's procedure for current tire temperature. NHTSA notes that the vehicle label or manual—not the tire sidewall maximum—provides the proper cold road pressure.
Check brakes, steering, and suspension
From outside obvious danger zones, inspect visible brake hoses, lines, rotors, shields, calipers, steering links, joints, boots, springs, shocks, anti-roll components, and fasteners. Look for stretching, impact marks, leaks, rubbing, bent parts, packed material, or displaced components.
Test steering and brakes gently at very low speed in a safe area. Stop for pulling, grinding, vibration, a changed pedal, delayed response, warning lights, or unusual steering effort. Mud and small stones have an impressive ability to impersonate large repair bills; sometimes they also cause them.
Inspect the underbody safely
Use a light and view from the perimeter where possible. Check guards, crossmembers, exhaust, fuel or battery protection, driveline housings, driveshafts, joints, wiring, and cooling components for strikes, leaks, looseness, or trapped debris.
Never go beneath a vehicle supported only by a jack, loose soil, recovery board, or improvised object. If access is required, use properly rated support on a suitable surface and the exact lift-point instructions—or leave the work to a qualified shop.
Clear cooling and rotating areas
Check radiator and condenser faces, grilles, fan areas, wheel interiors, and driveshaft surroundings for mud, grass, plastic, or branches. Keep hands away from fans and belts; electric fans can start unexpectedly. Allow hot systems to cool and never open a pressurized cooling system contrary to its instructions.
Clean with methods approved for the vehicle, observing local wastewater and invasive-species rules. Avoid forcing water into electrical connectors, bearings, breathers, or cabin systems.
Review fluids and warnings
Use the manual's approved procedures to check engine oil, coolant, brake fluid, steering fluid where applicable, transmission, transfer case, and axle systems. Not all vehicles provide user-level checks. Milky fluid, changed level, new leakage, unusual odor, or immersion beyond the vehicle guidance calls for professional inspection.
Record dashboard warnings rather than clearing them to improve morale. Scan tools do not repair the condition that set a code.
Recheck modifications and recovery gear
Inspect lift components using the suspension-modification checklist and restore road tire pressure. Clean, dry, inspect, and retire recovery equipment according to each maker's rules. Replenish the emergency kit while the missing items are still memorable.
After washing and again the next day, look for delayed leaks, settling pressure, loose hardware, new noise, or fluid beneath the vehicle. A post-trail inspection is not punishment for having fun. It is how the next trip starts with a vehicle instead of an archaeological dig.